How to Build Your Own Line Following Robot (LFR) Using Arduino and L298N Motor Driver
Introduction
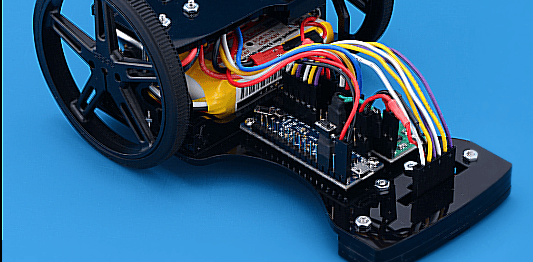
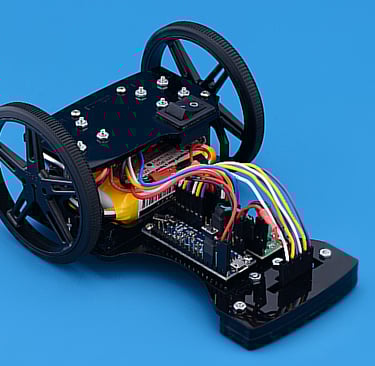
Building a Line Following Robot (LFR) is a fantastic project for beginners and enthusiasts alike. This autonomous bot follows a path (usually a black line on a white surface) using IR sensors. In this guide, we’ll go through every step to build your own LFR using Arduino, L298N motor driver, and IR sensors.
We'll provide both simple and advanced code so you can experiment and improve your bot!
Components Required:
Arduino Uno (or compatible)
L298N Motor Driver Module
Two DC Motors (with wheels)
Caster Wheel (for stability)
IR Sensor Module (x2 or x3)
Battery Pack (7.4V - 12V)
Chassis
Jumper Wires
Circuit Connections
L298N Motor Driver to Arduino:
ENA → PWM Pin 9
IN1 → Arduino Pin 7
IN2 → Arduino Pin 6
IN3 → Arduino Pin 5
IN4 → Arduino Pin 4
ENB → PWM Pin 10
12V to Battery +ve
GND to Battery -ve and Arduino GND
IR Sensor Module to Arduino:
VCC → 5V
GND → GND
Left Sensor OUT → Arduino Pin 2
Right Sensor OUT → Arduino Pin 3
(Optional) Middle Sensor (for better accuracy) → Arduino Pin 8
Simple Code for Line Following Robot
This basic code reads IR sensor values and controls the motors accordingly.
Code Explanation
Pin Definitions: The sensor and motor driver pins are defined at the beginning.
Setup Function: The pins are initialized as inputs (for sensors) and outputs (for motor control).
Loop Function:
The IR sensors detect the line and return values.
Based on sensor values, the robot either moves forward, turns, or stops.
Motor Control Functions:
moveForward(): Moves both motors forward.
turnRight(): Turns the robot right.
turnLeft(): Turns the robot left.
stopRobot(): Stops all motors.
Advanced Code for Smoother Line Following
This code uses PWM signals for finer motor control, making the robot move more smoothly.
Advanced Code Explanation
Uses PWM (Pulse Width Modulation) to control motor speed.
Instead of full ON/OFF, motor speeds are adjusted dynamically for smoother turns.
Improves response time and reduces jerky movements.
Final Steps: Testing and Debugging
Test the Sensors: Ensure that they correctly detect the black line.
Adjust Sensor Positions: Slight angle changes can improve performance.
Fine-tune Speed Values: If the bot wobbles, adjust PWM values.
Use a Middle Sensor (Optional): A third sensor helps in reducing erratic behavior.
🚀 Happy building!